
How to Repair Scratches on Shower Wall Panels
Table of Contents
- Why Shower Wall Panels Get Scratched and How to Assess the Damage
- What You'll Need Before You Start
- Step-by-Step: How to Remove Scratches from Acrylic Shower Walls
- How to Repair Plastic Wall Panels with a Scratch Repair Kit
- Choosing and Using a Shower Panel Scratch Repair Kit
- How to Repair Chips in Shower Wall Panels
- Repair vs Replace: When to Call It a Day
- Preventing Future Scratches and Keeping Your Panels Clean
- Frequently Asked Questions
Last Updated: October 9, 2026
Why Shower Wall Panels Get Scratched and How to Assess the Damage
Most scratches on shower wall panels never needed to happen. They come from rings, watch straps, grit on a cloth, or a scraper dragged at the wrong angle.
Shower wall panels are large sheets of acrylic, PVC, or composite board fitted over your existing walls to create a waterproof surface. They resist water far better than grout, but their finish is softer than tile.
Identifying Scratch Depth: Surface Scuffs vs Deep Gouges
Run a fingernail across the mark. If it glides over the top, you have a surface scuff sitting in the finish. These polish out.
If your nail catches in the groove, the scratch has cut into the material. Deeper gouges need filler, not polish.
- Surface scuff: dull, white-ish, no depth. Fix with polish.
- Shallow scratch: nail catches slightly. Fix with a fine abrasive and polish.
- Deep gouge: nail sinks in. Fix with filler or a repair kit.
Which Panel Materials Scratch and How They Behave
Acrylic shows scratches easily but responds well to polishing. PVC is softer still, so it marks fast but sands back smoothly. Composite and tile-effect boards sit somewhere between the two.
The practical difference: acrylic and PVC can often be repaired in place, while laminated finishes risk delamination if you sand too hard. Test any product on a hidden edge first.
What You'll Need Before You Start
Gather your kit before you touch the panel. Stopping halfway to hunt for a cloth rarely ends well.
- Soft cloths and non-scratch sponges
- Warm water and mild dish soap
- Silicone sealant for cracks near joints
Skip abrasive cleaners, scouring pads, and anything labelled harsh chemicals. They turn a small scuff into a permanent dull patch.
Step-by-Step: How to Remove Scratches from Acrylic Shower Walls
Acrylic is the most forgiving panel to work with. The method below removes most light marks in under 20 minutes.
Cleaning the Panel Surface First
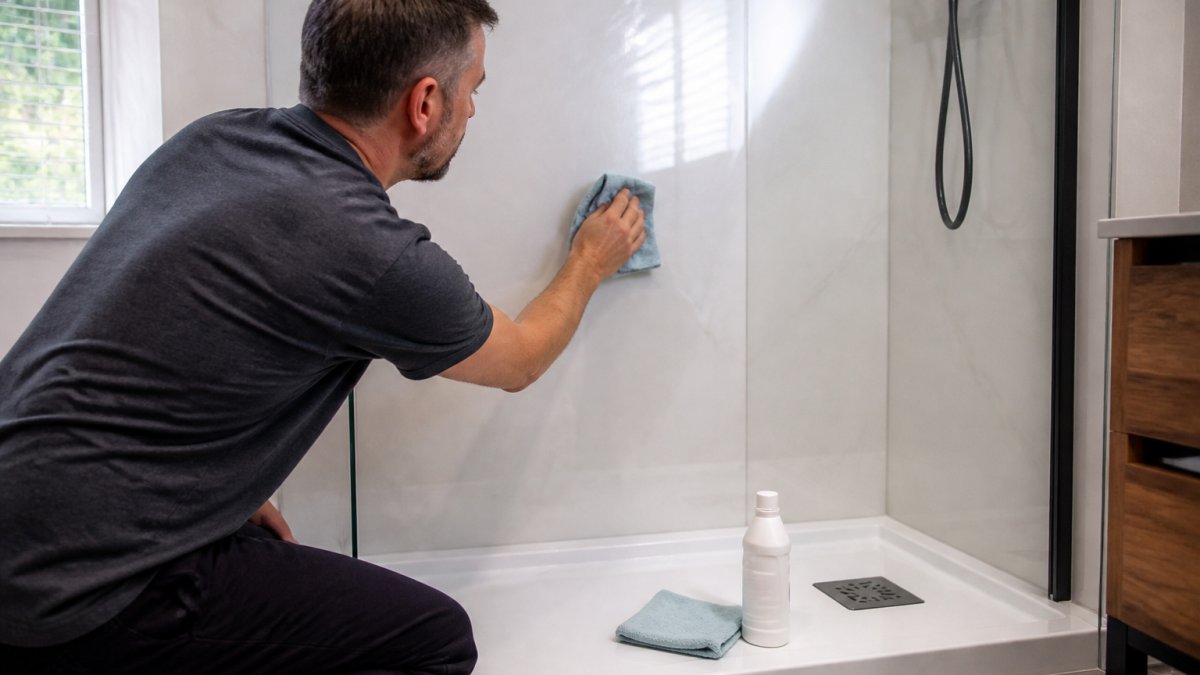
Wash the panel with warm water and mild dish soap. Wipe with a soft cloth, then rinse. This lifts dirt and grime that would otherwise grind deeper as you work.
Dry the surface fully. You cannot judge a scratch through a film of soap scum.
Buffing Light Scratches with a Plastic Polish
Apply a small amount of plastic polish to a soft cloth. Work it into the scratch in small circles, not back and forth. Keep the pressure light.
Buff the residue away with a clean cloth. Check the panel in daylight. Repeat two or three times for stubborn marks, then stop. Over-buffing dulls the finish around the repair.
How to Repair Plastic Wall Panels with a Scratch Repair Kit
Most ranking pages lump every panel together and talk about cleaning. The gap is material. A scratch that polishes out of acrylic in ten minutes can smear on PVC or lift the edge of a laminate, so match the method to the sheet before you touch it.
Match the Method to the Material
- Acrylic (cast or extruded): the most forgiving. Fine abrasive paste followed by plastic polish removes shallow scratches. Cast acrylic tolerates more heat and pressure than extruded, which can haze if you buff too hard.
- PVC (foam or solid): softer than acrylic, so it cuts faster and polishes quicker. Use the mildest abrasive in the kit and light pressure. PVC can also be heat-sensitive, so keep power tools away.
- Laminate and tile-effect board: a printed or bonded surface layer over a core. Sanding risks cutting through the pattern and causing delamination. Stick to polish and filler, and never use a rotary tool on the face.
A Worked Sequence for a Shallow PVC Scratch
- Clean with warm water and mild dish soap, then dry fully. Dirt left in the groove grinds deeper as you work.
- Tape around the scratch with masking tape to protect the surrounding finish.
- Start with the finest abrasive in the kit, typically a 1500 to 2000 grit paste or pad. Work along the scratch, not across it, with light pressure.
- Wipe clean and inspect in daylight. If the mark survives, step up one grade only.
- Finish with plastic polish in small circles, then buff off the residue with a clean cloth.
- Stop after three passes. If it has faded but not vanished, accept the improvement, chasing it further risks a flat spot.
Deep Marks on Plastic
Polishing only moves material around; it cannot fill a groove. For a deep scratch on PVC or composite, use a colour-matched filler or a two-part repair compound. Apply with a plastic scraper, build it slightly proud of the surface, let it cure per the label, then sand flush with fine paper and polish. On laminate, test the filler on a hidden edge first, some solvents in repair compounds can soften the bonded layer.
Kit Contents Worth Having
A useful shower panel scratch repair kit for plastic typically includes a fine abrasive paste, a polish, a finishing cloth, and sometimes a filler stick.
Choosing and Using a Shower Panel Scratch Repair Kit
A shower panel scratch repair kit earns its place in your cupboard if it matches your panel material. Buy the wrong type and you risk making the damage worse.
| Damage Type | Best Fix | Time Needed | Risk If Ignored |
|---|---|---|---|
| Surface scuff | Plastic polish | 10-15 minutes | Dulls further with each clean |
| Shallow scratch | Fine abrasive plus polish | 20-30 minutes | Traps dirt, looks worse over time |
| Deep gouge | Colour-matched filler | 30-45 minutes | Water can sit in the groove |
| Chip or crack | Sealant, or replacement | 1 hour plus cure time | Water ingress behind the panel |
Check the kit suits acrylic, PVC, or composite before you buy. Read the label for cure times and ventilation needs. Then follow the order above, mildest step first.
How to Repair Chips in Shower Wall Panels
Chips differ from scratches because material is missing, not just marked. Water can reach the panel joint through an open chip, so sealing matters as much as looks.
Clean the area and let it dry completely. Apply a colour-matched filler with a plastic scraper, building it slightly proud of the surface.
For a chip near a joint, finish with a bead of silicone sealant to keep water out.
Repair vs Replace: When to Call It a Day
Repair wins for scuffs, shallow scratches, and small chips. Replace when the damage is structural or when water can get behind the panel. The hard part is telling the two apart, so work through the checks below in order.
The Water Test
A scratch is cosmetic if water cannot pass through it. A scratch is structural if it can. Run a fingernail across the mark: if it glides, the finish is intact and polish will do. If your nail catches and the groove reaches the substrate, water can sit in it and, over time, work its way behind the panel. That is the point where repair stops being about looks.
Checks That Point to Replacement
- Cracks running through the panel: a split that flexes when pressed will not stay sealed. Sealant bridges the gap but the panel keeps moving.
- Delamination: the surface layer lifting from the core, often at an edge or around a fixing. Once the bond has failed, filler will not restore it.
- Water behind the surface: soft or spongy patches, a musty smell, or staining at the base of the panel. This is the expensive one, mould and rot you cannot see until the damage is well advanced.
The Repair Side of the Line
- Marks sitting in the finish with no depth
- Scratches under roughly 1mm deep that polish or fill back flush
- Isolated chips away from joints, sealed with colour-matched filler
- Scuffs from cleaning that have not broken the surface
The Practical Trade-Off
Replacing a panel means draining the area, removing the old sheet, checking the wall behind it, and refitting with new sealant and trims. That is a half-day job at least, plus cure time before the shower is usable again. Repairing a shallow scratch is a twenty-minute job with no downtime. The decision usually turns on whether water can pass through the damage, if it can, the cost of ignoring it is far higher than the cost of the panel.
Preventing Future Scratches and Keeping Your Panels Clean
Prevention costs nothing and saves the whole repair job. A simple cleaning routine keeps the finish intact for years.
- Rinse panels with warm water after every shower
- Wipe with a soft cloth and mild soap weekly
- Remove rings and watches before cleaning
- Never use abrasive cleaner or a scouring pad
Most scratches come from cleaning, not from showering. Swap the scouring pad for a soft sponge and you remove the main cause overnight.
At Wetwall Wonders, we supply panels and the full set of installation materials, from silicones to trims. Browse our range and match your panel, filler, and sealant in one order.
Frequently Asked Questions
Can you repair scratches on shower wall panels?
Yes, most light scratches and scuffs on shower wall panels can be repaired at home. Surface-level marks on acrylic and PVC panels often respond well to plastic polish or a mild abrasive cream worked in with a soft cloth. Deeper gouges may need a filler product matched to the panel colour. If the scratch has pierced the waterproof layer or the panel is cracked through, replacement is usually the safer option to prevent water ingress behind the panel.
How do you remove light scratches from acrylic shower panels?
Start by cleaning the panel surface with warm water and mild dish soap to remove soap scum and grime that can mask the scratch. Dry it fully, then apply a plastic polish or a non-abrasive cream to the scratch using a soft cloth, working in small circles. Buff gently and wipe away residue. For stubborn marks, a shower panel scratch repair kit with graded polishing compounds gives more control than household products. Avoid abrasive cleaners, which add new scratches.
Can scratched plastic shower panels be buffed out?
Light scratches and scuffs on plastic wall panels can often be buffed out with a plastic polish or a fine finishing compound. Work on a clean, dry panel surface and use gentle circular motions with a soft cloth or sponge. Deep scratches that catch a fingernail will not buff out completely, because material has been removed rather than just marked. Those need a filler or, if widespread, panel replacement. Always test any product on a hidden area first.
When should a scratched shower panel be replaced instead of repaired?
Replace a panel when the scratch is deep enough to compromise the waterproof surface, when cracks or chips expose the core material, or when water has already got behind the panel. Multiple deep scratches across a large area are usually not worth repairing, as the finish will never look even. If the panel is still under warranty, check the terms before attempting any repair, since some products exclude damage caused by abrasive cleaners or improper maintenance.
A scratched panel is a small problem until water finds its way behind it. Fixing marks early protects the surface and the wall underneath. Wetwall Wonders stocks a wide choice of panel sizes, including 250mm, 300mm, 500mm, and 900mm options, plus the adhesives, silicones, and trims to finish the job properly. Get started with Wetwall Wonders and keep your shower walls looking sharp for years.

