
7 Benefits of Acoustic Wall Panels in Bathrooms
Last Updated: October 25, 2026
Quick Summary
Acoustic wall panels reduce echo and reverberation inside a bathroom, making speech clearer so you can hold a normal conversation over a running shower or extractor fan. They are sound-absorbing products, not soundproofing, so they will not stop noise travelling through walls to the next room.
- Absorptive materials take energy out of sound waves, so reflections weaken and the reverb tail shortens.
- Buying panels to stop noise reaching a neighbouring room is the fastest way to waste money.
- A modest run of panels on the wall opposite the shower does more for echo than a single decorative strip.
- Some acoustic wood panels are approved for dry bathroom walls only, not direct water contact zones.
- No panel is a substitute for ventilation; a working extractor fan removes the steam that drives moisture damage.
Table of Contents
- Why Bathrooms Are the Worst Room in the House for Sound
- The Benefits of Acoustic Wall Panels in Bathrooms
- Sound Absorption vs Soundproofing: What Panels Can and Cannot Do
- How to Reduce Echo in a Bathroom Without a Full Refit
- Bathroom Soundproofing: Where Panels Stop and Other Fixes Start
- Choosing Moisture-Resistant Bathroom Wall Panels
- Installing, Sealing and Cleaning Acoustic Panels in a Bathroom
- Match Your Panels to Your Bathroom at Wetwall Wonders
- Frequently Asked Questions
Why Bathrooms Are the Worst Room in the House for Sound
Hard surfaces are the enemy of good sound.
This guide from Wetwall Wonders covers the benefits of acoustic wall panels in bathrooms, what they can realistically achieve, and where their limits sit.
Here's the part most guides get wrong: acoustic wall panels are sound-absorbing products, not soundproofing products. They reduce echo and reverberation inside the room.
The Benefits of Acoustic Wall Panels in Bathrooms
Panels earn their place in a bathroom for two reasons: they calm the room's acoustics, and they give you a moisture-friendly wall surface at the same time. The acoustic gains are real but specific. Here is what to expect.
Less Echo and Reverberation
Echo is sound that reaches you after bouncing off a hard surface; reverberation is the tail of those reflections stacking up. Absorptive materials take energy out of sound waves as they hit, so reflections weaken and the tail shortens. A bathroom with good wall coverage sounds tighter and less cavernous the moment you speak in it.
Clearer Speech and Less Shouting Over the Shower
Speech clarity improves because the useful sound reaching your ears no longer competes with a delayed copy of itself. In a highly reflective bathroom, intelligibility drops and people raise their voices without noticing; reducing reflected sound lets you hold a normal conversation over a running shower or extractor fan.
Sound Absorption vs Soundproofing: What Panels Can and Cannot Do
Sound absorption and soundproofing solve different problems. Absorption soaks up reflections inside the room; soundproofing, properly called sound insulation, blocks transmission between spaces through mass, decoupling and airtight sealing.
| Goal | What it fixes | Acoustic panels? | What actually works |
|---|---|---|---|
| Reduce echo | Reflected sound, reverberation | Yes, effective | Absorptive wall coverage |
| Improve speech clarity | Speech intelligibility in the room | Yes, effective | Panels plus soft furnishings |
| Block noise to next room | Sound transmission through walls | No | Mass, decoupling, sealed gaps |
| Quiet a noisy fan | Background noise at source | No | Service or replace the unit |
Watch out: buying panels to stop noise reaching a neighbouring room is the fastest way to waste money. That is a sound isolation job, and panels are the wrong tool.
How to Reduce Echo in a Bathroom Without a Full Refit
You can cut echo without stripping tiles, and panels are only one route. Start with the cheapest wins: a bath mat, a heavy towel on a rail, a fabric blind and a sealed door all add absorption and close gaps, though soft furnishings alone rarely fix a hard, tiled box.
For a more permanent result, add absorptive wall coverage on one or two walls. Acoustic wall panels give you that coverage in a wipe-clean, moisture-tolerant finish, which soft furnishings cannot offer in a wet room. The practical rule is coverage over perfection: a modest run of panels on the wall opposite the shower does more for echo than a single decorative strip.
Bathroom Soundproofing: Where Panels Stop and Other Fixes Start
Bathroom soundproofing is a separate discipline from acoustic treatment and starts with the wall assembly. If noise passes to an adjoining room, the fixes are mass-loaded barriers, resilient bars, acoustic insulation within the stud cavity and airtight sealing around pipes and penetrations.
Where panels do help is the overlap: they reduce the sound energy bouncing around the room, so less noise is available to leak out. If you are weighing surfaces more broadly, our comparison of bathroom wall panels versus tile sets out the pros and cons.
Choosing Moisture-Resistant Bathroom Wall Panels
Moisture resistance is a specification question, not a marketing claim, and it decides whether a panel survives a bathroom. High humidity, splashing and condensation mean the panel, its core and its fixing method must all tolerate that exposure. Some acoustic wood panels are approved for dry bathroom walls only and should not be fitted in direct water contact zones.
Why bathrooms attack panels differently
A bathroom cycles through three moisture loads a living room never sees: steam from a hot shower raises humidity and condenses on the coolest surfaces, direct splash hits the zone around the bath, basin and shower, and standing water collects at the base of walls and in sealant joints. Each attacks a different part of the panel, steam stresses the face and adhesive, splash stresses the joints, standing water stresses the core and bottom edge, so "waterproof" on a product page tells you very little on its own.
Match the material to the zone
Divide the room into zones before you choose anything.
- Splash zones, inside and immediately around the shower enclosure, above the bath, and around the basin. These need a fully sealed, wipe-clean surface with a core that does not swell. Tile-effect and solid-core panel systems designed for wet areas are the usual choice here.
- Humid zones, the rest of the bathroom walls, which get steam and condensation but no direct splash. Moisture-tolerant panels with sealed edges are generally acceptable, provided the manufacturer approves bathroom use.
- Dry zones, walls outside the bathroom door or in a separate WC. Ordinary acoustic panels can be used here with far less risk.
A common pattern is bathroom-rated panels in the splash and humid zones, with fabric-wrapped or open-faced acoustic panels reserved for dry zones or a feature wall well away from the shower. Fabric-faced absorbers are excellent acoustically but wrong directly beside a shower: they hold moisture, stain and are hard to clean without damaging the face.
What to check on the specification
Before buying, confirm four things in writing:
- Bathroom or wet-area approval. Look for an explicit statement that the panel is suitable for humid or wet areas, not an inference from the word "waterproof".
- Core behaviour. Moisture-resistant cores resist swelling and delamination; timber and MDF cores vary widely and some are dry-use only.
- Edge and joint sealing. The panel is only as moisture-resistant as its cut edges and joints. Check that the system includes trims, sealant and end caps rated for wet areas.
- Fire performance. Bathroom wall linings are subject to building regulations, and products are classified for reaction to fire. Ask for the classification and confirm it suits the location; do not assume a decorative panel carries the same rating as the substrate behind it.
Hygiene and cleanability
A bathroom panel needs to be cleanable, not just moisture-tolerant. Smooth, closed surfaces wipe down with a damp cloth and mild bathroom cleaner, while porous, textured or fabric faces trap soap residue and encourage mildew where condensation lingers. A panel that cannot be cleaned without dulling the finish will look tired within a couple of years.
Ventilation does half the work
No panel is a substitute for ventilation. If you are still deciding on a look, our guide to choosing the right bathroom wall panel finish walks through the options.
Installing, Sealing and Cleaning Acoustic Panels in a Bathroom
Installation follows the same logic as any bathroom panel: solid substrate, correct adhesive and sealed edges. Water gets behind panels through unsealed joints far more often than through the face, so the sealant line matters most. Use suitable sanitary silicone, seal the base, corners and cut edges, and leave ventilation to do its job.
Prepare the substrate first
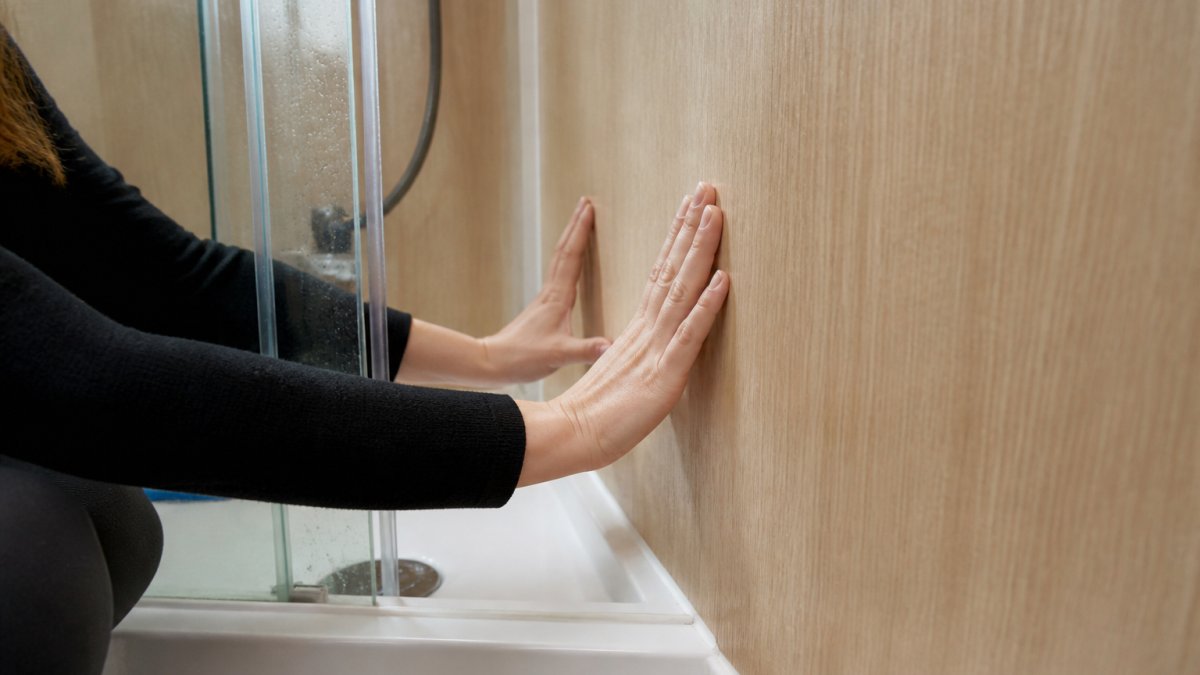
Panels bonded to a sound, flat, dry substrate last; panels bonded to flaking paint, loose tile or damp plaster do not. Remove loose material, check the wall is dry, and prime or seal porous substrates as the adhesive manufacturer requires. Confirm the wall's existing waterproofing is intact before covering it up. Fixing over tiles needs an adhesive and mechanical fixing combination approved for that substrate, adhesive alone on glazed tile is a common failure point.
Fixing methods and ventilation clearances
There are three practical fixing routes:
- Adhesive bonding for flat, sound walls, using a bathroom-grade adhesive applied as the manufacturer specifies. This gives a clean finish with no visible fixings but relies entirely on substrate quality.
- Mechanical fixing with screws and trims, which suits uneven walls and heavier panels. Fixings must be corrosion-resistant in a bathroom; ordinary steel screws will rust through the face over time.
- Batten or frame systems where a cavity is needed, for example to run services or to mount thicker absorptive panels. Any cavity behind a panel in a bathroom must be ventilated or sealed so it cannot become a trap for damp air.
Leave the clearances the manufacturer specifies at the base, top and around fittings. Panels fitted tight to the floor sit in the wettest part of the room and wick water at the bottom edge; a small gap closed with sanitary silicone performs better than a panel run hard into the floor.
Sealing: the part that decides longevity
Seal the base, corners, cut edges and any joint where water can reach the core. Use a sanitary-grade silicone with a fungicidal additive, tool it smooth and let it cure fully before use. Re-seal joints routinely, a hairline crack lets more water behind a panel than a whole day of steam. Where panels meet a shower tray or bath, follow the tray manufacturer's sealing detail.
Safety around showers, baths and electrics
Keep panels and fixings clear of electrical accessories. Light fittings, shaver sockets and fan isolators are subject to wiring regulations and the zones around baths and showers; do not drill into or cover an accessory to fit a panel, and have alterations carried out by a competent person. Choose panels and adhesives with the appropriate reaction-to-fire classification, and never block an extractor grille or ventilation path.
Cleaning routine
Clean gently and regularly: wipe with a damp cloth and mild bathroom cleaner, rinse, and dry high-splash zones. Avoid abrasive pads and solvent cleaners that dull or attack the finish. Deal with mildew promptly and check sealant lines every few months rather than waiting for a leak to show.
What to expect acoustically
Be realistic about results. In a small, hard bathroom, a modest run of absorptive panels noticeably shortens echo and makes speech clearer, but it will not silence a running shower, an extractor fan or plumbing noise from the next room. Absorption reduces reflected sound inside the room; it does not block transmission.
When to call in a professional
DIY installation is realistic for flat walls and simple runs. Call in a professional where the wall is uneven or fails a tap test, where panels must fit around a shower enclosure or bath with complex sealing, where electrical accessories need moving, or in a wet room with a tanked floor and walls.
If you want the detail, our step-by-step guide on how to seal bathroom wall panels for moisture protection covers the sealing sequence, and our advice on how to clean shower wall panels without damaging the finish covers day-to-day care.
Match Your Panels to Your Bathroom at Wetwall Wonders
The right panel fits your room, your moisture exposure and your finish. At Wetwall Wonders we stock wall panels in 250mm, 300mm, 500mm and 900mm widths, including Dumawall tile-effect and Linerio slatwall options, so narrow ensuites and full walls can both be planned without awkward seams.
If you want the wider picture before committing, read what is the benefit of using Wetwall Panels and then browse the range.
Frequently Asked Questions
Do acoustic wall panels reduce echo in a bathroom?
Yes, within limits. Acoustic wall panels absorb reflected sound, which is what causes echo and reverberation in a room full of hard surfaces. A bathroom with tile, glass and plaster gives sound waves almost nothing to soak into, so panels on a dry wall can noticeably soften echo and make speech easier to follow. They will not stop noise travelling through the wall into the next room, so treat echo control and soundproofing as two separate jobs.
Are acoustic panels suitable for humid bathrooms?
Only if the specific panel is approved for the environment. Acoustic wood panels should be used on dry bathroom walls only, and only where the maker approves that panel and installation method for wet or humid areas. Humidity and direct water exposure are the deciding factors, not acoustic performance. Check the product data before buying, keep panels away from the shower zone, and rely on good ventilation to keep moisture levels down.
What is the difference between sound absorption and soundproofing?
Sound absorption reduces reflected sound inside a room, cutting echo and improving speech clarity. Soundproofing, more accurately called sound isolation, reduces sound transmission from one space to another. Acoustic wall panels are absorbers: they make the bathroom sound calmer but do little to stop noise reaching the room next door. Blocking transmission needs mass, decoupling and sealed gaps, which is a different and usually more invasive piece of work.
How should acoustic panels be installed in a bathroom?
Fix panels to a dry, sound wall away from direct water spray, following the maker's method exactly. Use the specified adhesive and a silicone seal at edges and joints to stop water getting behind the panel, since trapped moisture is what causes mould and bubbling. Leave a small gap above skirting or behind fixtures where the design allows, and never seal a panel tight against a shower tray without the correct trim. If you are unsure, a fitter can confirm the right adhesive and sealant for your wall type.
The challenge with bathroom acoustics is that echo and moisture have to be solved together, and most products only handle one. We built our range around that problem: panels in multiple widths, tile-effect and slatwall finishes, and the adhesives, silicones and trims to seal them properly. Get started with Wetwall Wonders and spec a bathroom that sounds as good as it looks.


